SFF’s window films are DIY window film
Step 1 to DIY Window Film
- Clean the window surface thoroughly. Avoid using spirits, turpentine or any decreasing detergents
- Remove paint or varnish on the glass with scraper blade.
- Fill up spray bottle; use the FILM ON SOLUTION – five bottle caps per 250ml of tap water.
- Should you run out of film on solution, baby shampoo can be used
- Wipe dry the glass and ensure the glass/window is clean
THIS IS THE MOST IMPORTANT PROCEDURE IN DIY WINDOW FILM INSTALLATION, THE GLASS MUST BE VERY CLEAN

Step 2 to DIY Window Film
- Re spray the glass/window generously, Beads of water must run down the glass
- Peel away the red tape, this will separate the backing sheet from film
- Handle the film carefully at the corners to avoid wrinkles or creases, which cannot be removed
- PLACE THE FILM ON THE WET WINDOW
- For small windows, reverse roll method can be used.
- Apply the adhesive top part of the film on the wet glass/window surface; peel the backing sheet away in a downward motion until all the liner is removed from the film -move film into place
- Move film into place
When applying window film to large windows or sliding doors, have a friend help you do the installation.
- Two people working together, one person removing the backing sheet – the other person spraying the adhesive side of the film.
- Helpful Hint -We recommend pre trimming the film to final size for French panes, glass sky lights, and arched windows

Step 3 & 4 to DIY Window Film
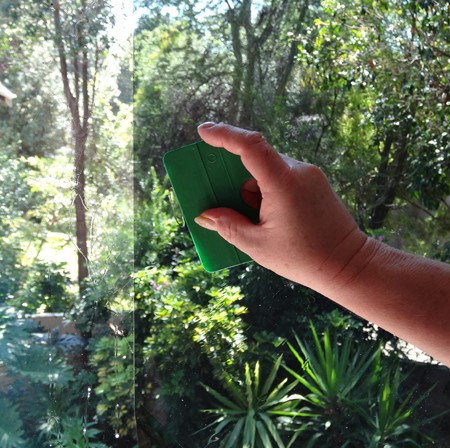
- Spray the side of the film facing you and ensure it is wet – push the squeegee down the centre of the film, this helps that the film does not move
- Push the squeegee at a 45 degree angle not 90 degree upright and do not pull the squeegee over the film, could damage the film
- Starting with the top of the film, squeegee across the centre to one side but not to the edge – do not squeegee the last 25mm of film near the edge
- Use firm,but not heavy pressure – if unsure use light pressure and increase gradually
- If you are bowing the glass, then you are using too much pressure
- Do this 2 or 3 times across one side then repeat for other side of window – CENTRE to SIDE
- If you find there is some dirt, putty or stuff under the film, you will need to carefully peel back the film onto itself and remove this
- When the film has dried and there was dirt at the corners it will stay like this
- Helpful Hint -You can remove any large bubbles by pushing them with the squeegee to the nearest film edge. Small bubbles should disappear in a few days

Step 5 to DIY Window Film
- Trim /Cut edges of film
- Use sharp cutting knife. Snap off blades as they become blunt – dull blade will tear the film
- Place the knife up against glass frame and slowly start cutting against the frame. You could also us the straight edge of the squeegee for a line
That’s it! You’ve just successfully tinted a window using the DIY Window Film Guide.


